
Summary
Uploading a single-player world to a 7 Days to Die server is a great way to continue playing online with friends or other players. Collaborate to build bases, explore the world, and fight off zombies together. It can provide a more social, challenging, and enjoyable experience for 7 Days to Die players. When the world is uploaded and set up, learn how to connect to the 7 Days to Die server here.
How to Upload a World to a 7 Days to Die Server
1. To find a singleplayer world, press the Windows Key + R and enter %appdata%\7daystodie .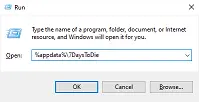
2. Open the Saves folder.![]()
3. Locate the desired Save Folder.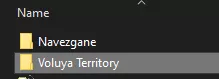
4. Log in to the BisectHosting Games panel.
5. Stop the server.![]()
6. Go to the Files tab.![]()
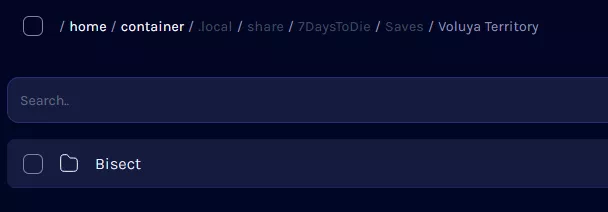
7. Find the following directory: /home/container/.local/share/7DaysToDie/Saves .
8. If uploading a Custom World (RWG), zip the Entire Save folder.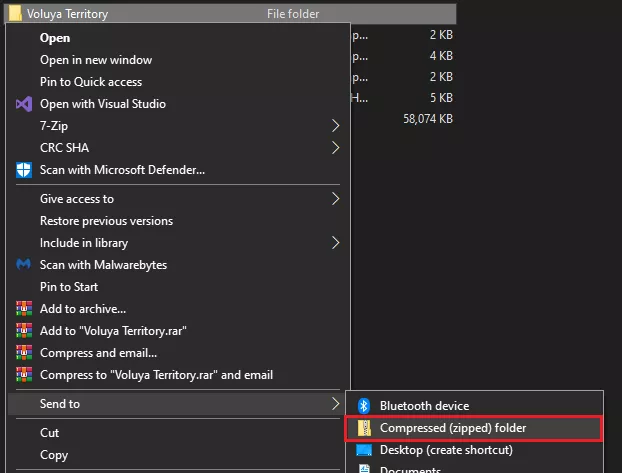
| Note | Click here to skip to the steps for uploading Navezgane worlds. |
9. Upload the zipped custom world.
10. Unzip the file by pressing Right-click > Unarchive.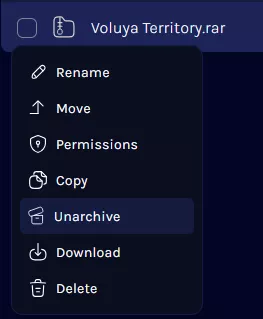
11. Custom worlds also need their World Folder uploaded to /home/container/Data/Worlds .
12. The Local World folder can be located at 7DaysToDie/GeneratedWorlds .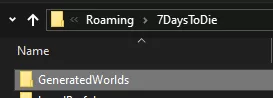
13. Zip the desired world folder to save time uploading.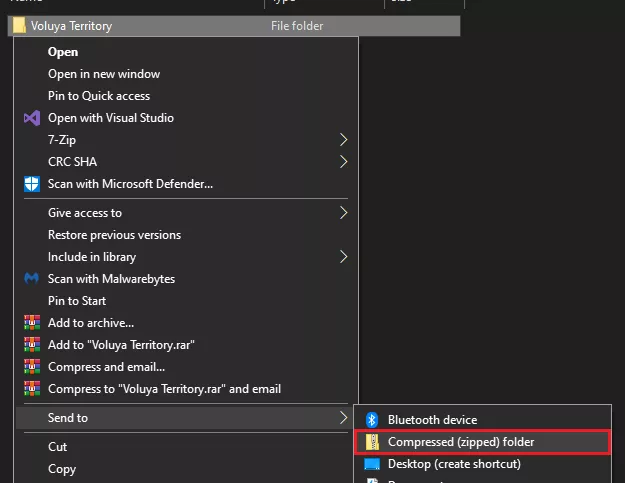
14. Upload the zipped file to the server.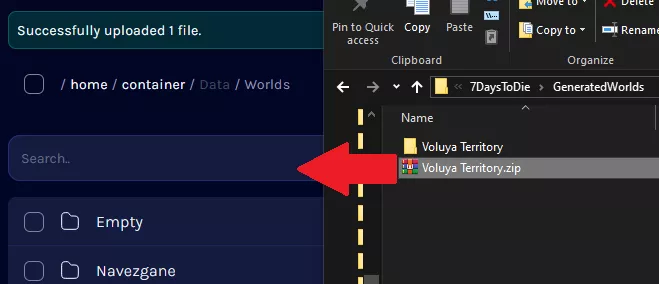
15. Unzip the world file by pressing Right-click > Unarchive.
16. Navezgane saves must be uploaded from /Saves/Navezgane to the same location on the server.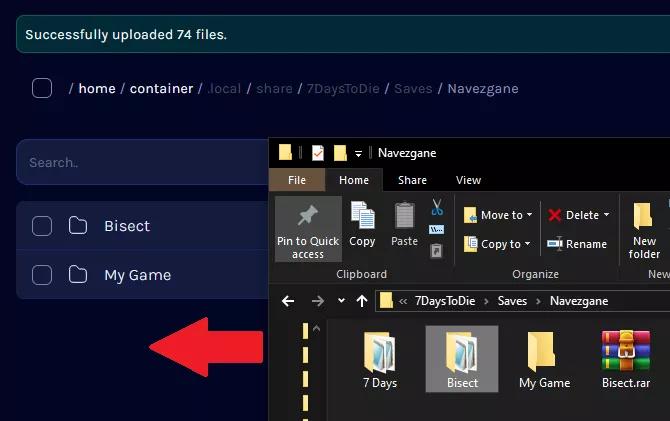
17. After uploading the required files, go to Config Files > Server Config.
18. Locate the World section.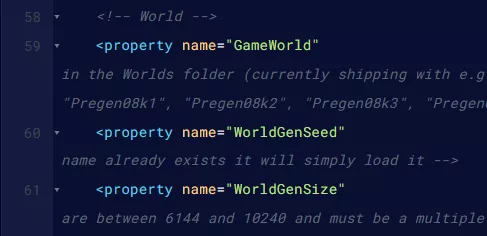
19. For GameWorld , change the value to the World Name.
![]()
20. Set the WorldGenSize value to the world size used.![]()
21. Change the GameName value to the name of the Save Folder.![]()
| Note | Custom (RWG) save names can be found inside the save folder at /7DaysToDie/Saves/[CustomWorldName] . |
22. Once finished editing, choose Save Content.
23. Start the server.![]()