Summary
Uploading a custom world, single-player or downloaded online, to a Minecraft Bedrock server allows sharing the world with other players, collaborating on projects, and exploring together. It also provides a way to backup the world and ensure it is safe from any data loss. Also, hosting a Bedrock server can provide a more stable and reliable gameplay experience as it runs on dedicated hardware with consistent performance.
How to Upload a Custom World to a Minecraft Bedrock Server (Singleplayer)
1. Launch Minecraft Bedrock.
2. Hit Play.![]()
3. Select the pencil icon beside the preferred world.![]()
4. On the Game tab, scroll to the bottom and click Export World.![]()
5. Export the world to a folder.![]()
6. Minimize the folder to use later in the tutorial.
7. Log in to the BisectHosting Games panel.
8. Stop the server.![]()
9. Log in to the Minecraft Bedrock server using an SFTP client. Learn how to use SFTP here.
10. Open the worlds folder.![]()
11. Right-click and choose New Directory (or folder).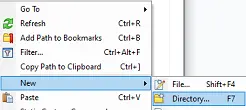
12. Input the world name and hit OK.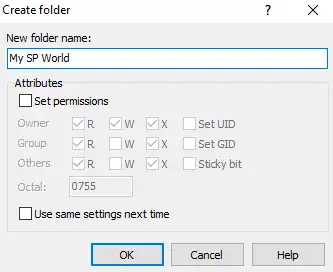
13. Drag and drop the .MCWORLD file from step 7 into the new folder.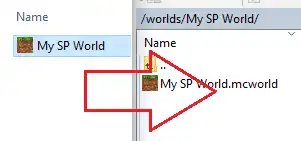
14. Return to the BisectHosting Games panel.
15. Go to the Files tab.![]()
16. Find the following directory: /home/container/worlds/[World Name] .![]()
17. Right-click the .MCWORLD file and select Unarchive.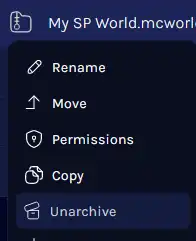
18. From the Config Files tab, choose Server Properties.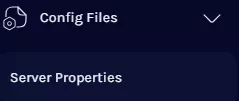
19. On the level-name= line, change the value to the world name.![]()
20. Choose the Save Content button on the lower right.
21. Start the server.![]()
How to Upload a Custom World to a Minecraft Bedrock Server (Downloaded)
1. Download a world from a reliable website like Planet Minecraft. It must be a .MCWORLD or .zip file.
2. Minimize the file to use later in the tutorial.
3. Log in to the BisectHosting Games panel.
4. Stop the server.![]()
5. Log in to the Minecraft Bedrock server using an SFTP client. Learn how to use SFTP here.
6. Open the worlds folder.![]()
7. Right-click and choose New Directory (or folder).
8. Input a preferred world name and hit OK.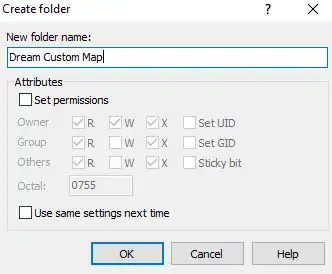
9. Drag and drop the .MCWORLD or .zip file from step 2 into the new folder.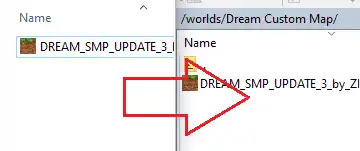
10. Return to the BisectHosting Games panel.
11. Go to the Files tab.![]()
12. Find the following directory: /home/container/worlds/[World Name] .![]()
13. Right-click the .MCWORLD or .zip file and select Unarchive.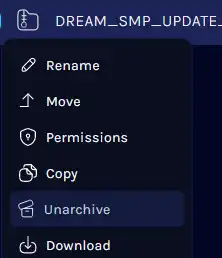
14. From the Config Files tab, choose Server Properties.
15. On the level-name= line, change the value to the world folder name.![]()
16. Choose the Save Content button on the lower right.
17. Start the server.![]()